

Questions This Article Answers
- Can I use a water flosser right after All-on-4 surgery?
- When can I start brushing after All-on-4 implant surgery?
- What is the safest way to clean around All-on-4 implants during the healing period?
Quick Answer
The Short Answer
For the first 24 hours, do nothing at all, let blood clots form undisturbed. Beginning day four, rinse gently with warm saltwater three to four times per day, especially after eating. From week two, introduce an extra-soft baby toothbrush on the outer surfaces of the temporary bridge only. Avoid water flossers and interdental brushes entirely until your dentist clears you at the three-to-six-month follow-up: even on the lowest setting, their pressure is too high for healing tissue.
Quick Answer
In the first two to six weeks after All-on-4 surgery, the cleaning rules do not just shift: they nearly invert, and the tools most critical to long-term implant health can actually disrupt the healing biology if introduced too soon. I still remember the look on one of my patients' faces when I explained why her gums were so inflamed at her two-week check-up. She had been diligent, maybe a little too diligent. She had pulled out her Waterpik on day three, convinced that keeping things spotless was her responsibility. Well, that instinct comes from a wonderful place, but a water flosser in the first weeks after All-on-4 surgery can undo some of the careful biological work your body is trying to do! The healing phase is a completely different world from regular implant maintenance, and nearly every cleaning guide out there, including some of our own long-term articles, assumes a healed mouth. In this guide, I will walk you through exactly what we recommend here at Imagine Advanced Dental Arts for those first two to six weeks, week by week, and more importantly, why each step is paced the way it is.
Why Does the Healing Window Change the Cleaning Rules?
Think about what is actually happening inside your jaw right now. Your body has placed four titanium posts into your jawbone, and over the next several months, bone is going to grow directly into those posts through a process called osseointegration. It is one of the most remarkable things the human body does, essentially a biological weld between living bone and a metal implant. And the first two to six weeks are when that process is most fragile, most vulnerable, and most in need of calm, undisturbed conditions to proceed.
Here is why that matters so much for cleaning. During those early weeks, the tissue around your implant sites has not yet formed a mature seal. Blood clots are forming, new tissue is knitting itself together, and the gum is gradually closing around the base of your temporary bridge. Any disruption to that forming tissue: a jet of water from a Waterpik, the bristles of an interdental brush catching on a tender edge: can slow that process or, in some cases, push bacteria into areas the healing tissue was supposed to seal off, as of .
The pressure from a water flosser is also higher than most people realize. Standard water flossers operate between 50 and 100 PSI of pressure: completely appropriate for healthy, mature tissue around a long-healed implant, but genuinely too forceful for tissue that formed less than a week ago. Think of it like trying to clean a fresh wound with a pressure washer. The intention is excellent, but the execution causes the very harm you are trying to prevent!
What your healing tissue actually needs is different from what your mature implant will eventually need. Right now, it needs a gentle, low-pressure rinse that washes away bacteria and food debris without disturbing the biology working underneath. It needs soft contact, not mechanical force. And it needs consistency, rinsing after every meal so that bacteria do not sit against new tissue for hours at a time.
This is exactly why the protocol I give my patients after All-on-4 surgery deliberately avoids advanced cleaning tools for the first six weeks. It is not about being overly cautious. It is about letting the biology do its work uninterrupted. The good news? The full routine comes back, and it comes back better than ever. You just have to give your body the window it needs to get there first.
What Should You Do in the First 48 Hours After Surgery?
The first 48 hours are honestly the most important: and in some ways the simplest, because the instructions are the most minimal.
For the first 24 hours, I ask my patients to do absolutely nothing in terms of active cleaning. No rinsing, no brushing, no salt water. Blood clots are forming at the surgical sites, and even gentle rinsing can dislodge them. Those clots are not just keeping the area looking clean. They are the actual starting material for the new tissue that will eventually seal around your implants. Disturbing them sets the whole healing process back.
Beginning at the 24-hour mark, you can start very gentle warm saltwater rinses. The recipe I give every patient is simple: one quarter teaspoon of plain table salt dissolved in eight ounces of warm water. Swish it very gently around your mouth for about 30 seconds and then let it fall naturally out of your mouth. Do not spit forcefully. Forceful spitting creates suction that can pull at the forming clots just as easily as vigorous rinsing. I always tell my patients: let it fall, do not spit. It feels odd at first, but it matters more than you might think.
If I have prescribed a chlorhexidine rinse, it typically begins on day two as well. Chlorhexidine is an antimicrobial rinse that dramatically reduces the bacterial load in your mouth without requiring any mechanical action at all. It is one of the most evidence-backed tools for reducing post-surgical infection risk, and I use it specifically because it works through chemistry, not force. Do not skip your prescribed rinse, and do not substitute it with over-the-counter mouthwash, which almost always contains alcohol that will irritate healing tissue.
Do not try to brush anything for at least the first three to five days. Even a very soft toothbrush touching freshly operated-on tissue is unnecessary friction at a moment when your body needs calm. I know it feels counterintuitive! Most of us have been trained since childhood that clean equals healthy, and not brushing feels wrong. But in this very short window, gentle rinsing IS the cleaning. You will get back to brushing soon enough, and when you do, your implants will thank you for the patience you showed right at the start.
Also avoid hot foods and drinks, alcohol, and smoking throughout this period, as all three significantly interfere with blood flow and tissue healing around the surgical sites.
My Week-by-Week Healing Protocol at Imagine Advanced Dental Arts
One of the most common things I hear from patients is: "Can I do just a little more than you are telling me?" I always smile at that, because it is coming from exactly the right place, from someone who genuinely wants to protect their investment. So let me be concrete. Here is exactly what I recommend week by week, and why each stage is paced the way it is.
| Healing Phase | What to Do | What to Avoid | Why |
|---|---|---|---|
| Days 1-3 | Nothing at all, rest and let blood clots stabilize | All rinsing, brushing, and cleaning | Clot disruption is the most common cause of delayed healing in the first 72 hours |
| Days 4-7 | Warm saltwater rinse 3-4x per day; chlorhexidine if prescribed | Brushing, water flosser, commercial mouthwash | Tissue is in its most fragile early formation stage; antimicrobial rinse does the work through chemistry, not force |
| Week 2 | Continue saltwater; add an extra-soft baby toothbrush on outer bridge surfaces only | Water flosser, interdental brushes, brushing the gum line | Early brushing introduces gentle mechanical action on the outer surface only, no pressure on gum tissue yet |
| Weeks 3-4 | Expand brushing coverage; consider a non-alcoholic antimicrobial rinse | Water flosser, interdental brushes | Tissue is strengthening but not yet fully sealed; pressurized water jets remain too forceful |
| Weeks 5-6 | Continue expanded protocol; discuss transition timeline at follow-up appointment | Water flosser without explicit dentist clearance | Osseointegration is underway but typically not complete until 3-6 months post-surgery |
| 3-6 Months | Full cleaning routine including water flosser and interdental brushes, once cleared by dentist | Nothing. You have earned the full routine! | Bone integration is mature enough for comprehensive mechanical cleaning |
You will notice that nothing in this protocol happens as a dramatic leap. Each stage adds one small element, and only after the previous stage has had its time. That pacing is very intentional. The most common driver of early implant complications I see in practice is rushing the healing protocol, and I have watched it happen even with patients who followed almost everything correctly but pushed into water flosser use at week three. Things look healed on the outside by week three. They are almost never fully healed on the inside yet.
At your follow-up appointments, I am looking at the tissue color, checking for any swelling or tenderness, and assessing how the temporary bridge is sitting. Those visits are also when we update the protocol based on your individual healing rate: because every patient is a little different, and I adjust the timeline accordingly.
Which Tools Are Safe During Healing, and Which Should Wait?
Let me give you a clear breakdown of what belongs in your routine right now and what needs to sit on the shelf for a while.
This is one of the most genuinely confusing parts for patients, because some of these tools, like the water flosser, get recommended by dentists for long-term All-on-4 care constantly. Seeing it on a list of things to hold off on feels contradictory! But the recommendation changes entirely based on where you are in your healing timeline.
| Tool | Safe During Healing? | When You Can Start | Notes |
|---|---|---|---|
| Warm saltwater rinse | Yes, from day 4 | Day 4 post-surgery | The gentlest and most essential tool you have right now |
| Prescribed chlorhexidine rinse | Yes, from day 2 if given | Day 2 post-surgery | Only if your dentist provided it; do not substitute store-bought mouthwash |
| Extra-soft baby toothbrush | Yes, from week 2 | Start of week 2 | Outer surfaces of the temporary bridge only; feather-light pressure |
| Blunt-tip irrigation syringe | Limited, from week 3 | Week 3 post-surgery | Filled with saline, very low pressure; helpful for flushing under the bridge |
| Water flosser / Waterpik | No, wait for clearance | 3-6 months, once cleared by dentist | Generates 50-100 PSI even on lowest setting, too much pressure for healing tissue |
| Interdental brushes | No, wait for clearance | After healing is confirmed | Can snag on fragile tissue edges; save for long-term maintenance |
| Alcohol-based mouthwash | No | Avoid long-term unless dentist approves specific product | Alcohol dries and irritates healing tissue and disrupts the moisture balance healing needs |
| Whitening or abrasive toothpaste | No | Avoid until tissue is mature | Too harsh for sensitive healing tissue; can also damage the temporary bridge surface |
The extra-soft baby toothbrush deserves a special mention because patients often pick up a "soft" adult toothbrush thinking it is equivalent, and it really is not. A baby toothbrush has bristles that are meaningfully finer and more flexible than even the softest adult brush. For the healing phase, that difference matters. If you are not sure which brush to get, simply walk to the infant care aisle at any drugstore. Any toothbrush designed for a toddler is exactly the right level of gentleness for healing implant tissue.
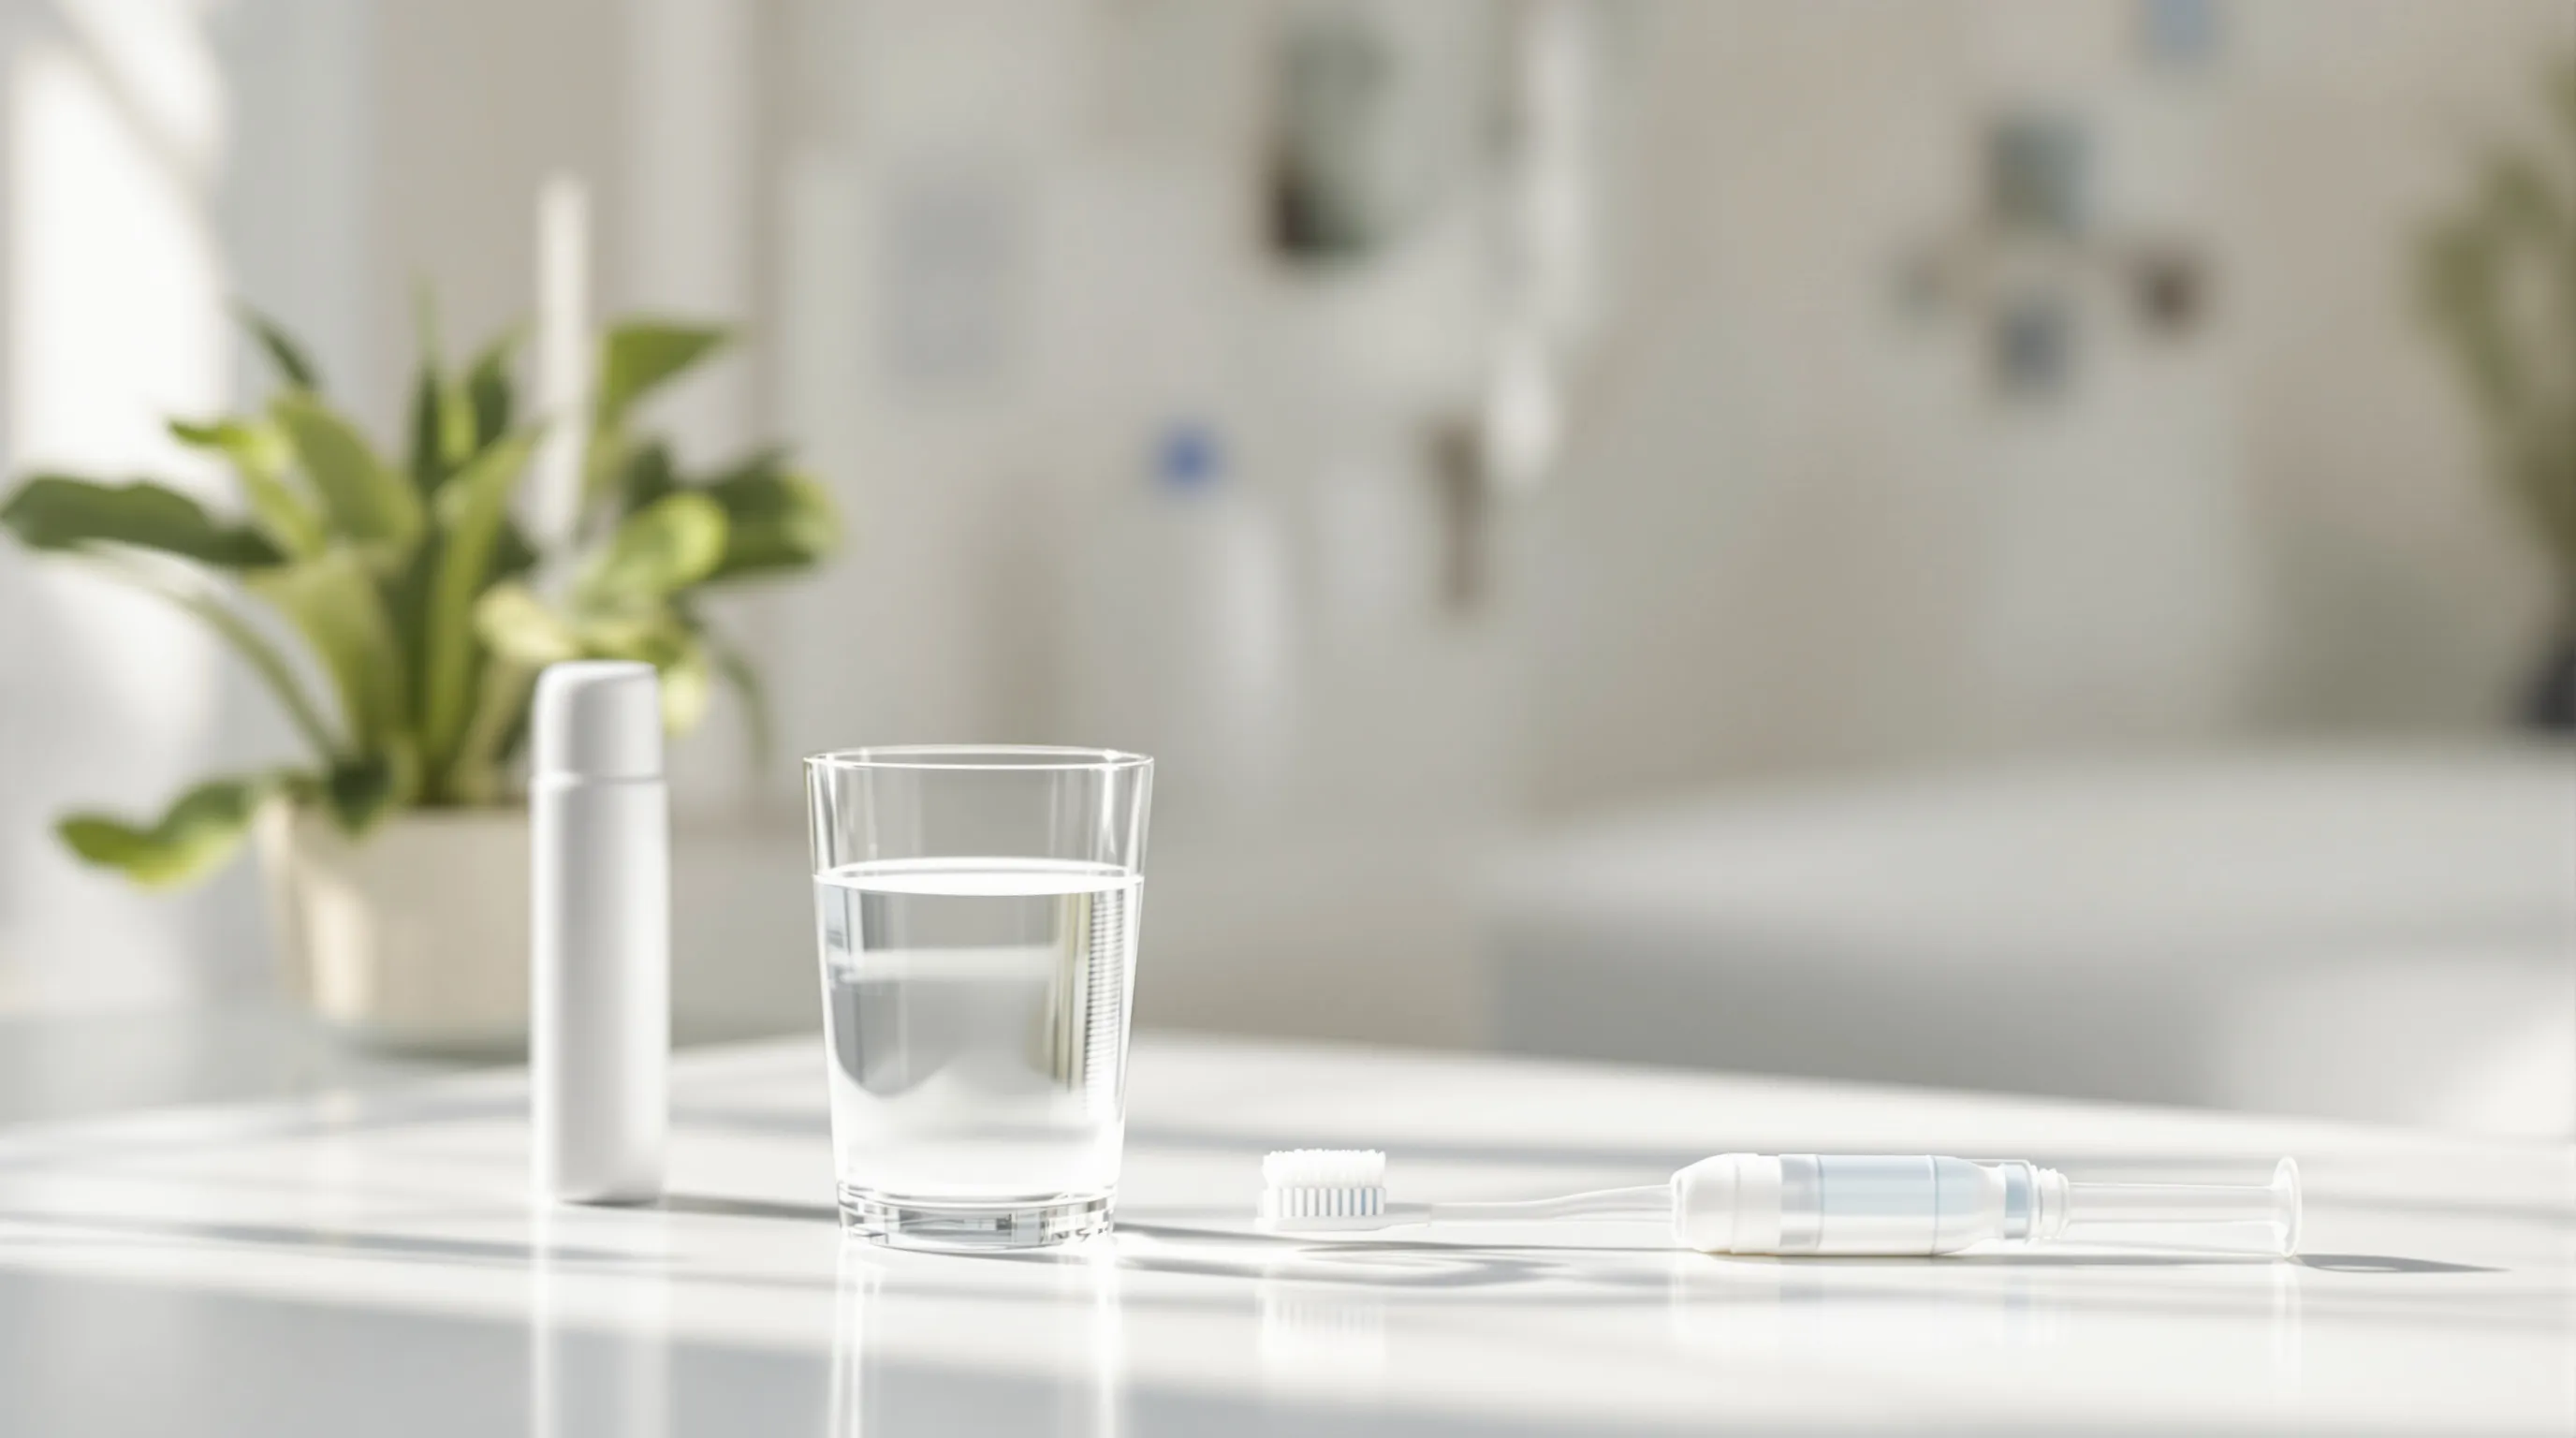
The blunt-tip irrigation syringe, which looks a bit like a small medical syringe without a needle, is something I sometimes recommend starting around week three. You fill it with saline and use it to gently flush debris from under the temporary bridge. The key word is gently. A slow, low-pressure flush is all you need at this stage, and it makes a surprisingly meaningful difference in keeping that under-bridge space clean without disturbing the tissue above.
The Cleaning Mistakes I See Most Often at the Two-Week Check-Up
I have done a lot of two-week follow-up appointments. And I have noticed a handful of the same mistakes appearing again and again: not because patients are careless, but because the healing protocol is genuinely counterintuitive compared to everything they have been taught about dental hygiene their whole lives. So let me share the most common ones so you can sidestep them completely!
Mistake 1: Using the water flosser right away. This is by far the most frequent. Patients know that a Waterpik is great for All-on-4 maintenance long-term: they have read it in our articles, heard it from us in the officeso they assume it must be part of the healing routine too. "I set it on the lowest setting," they tell me. I genuinely appreciate the logic! But even the lowest setting on most water flossers produces pressure that healing tissue simply cannot tolerate in the first weeks. I can almost always tell when this has happened: the gum around the implant sites looks irritated and puffy rather than the calm pink of undisturbed healing.
Mistake 2: Skipping all cleaning because of soreness. This is the opposite error, and in my experience it is actually the riskier one over time. When patients avoid rinsing entirely because their mouth is tender, bacteria accumulate rapidly in an environment that is already warm and moist, exactly the conditions bacteria thrive in. Gentle saltwater rinsing after meals is non-negotiable even when your mouth feels sensitive. The rinse helps, not hurts, even when it does not feel that way in the moment.
Mistake 3: Reaching for commercial mouthwash. Listerine, Scope, and similar products almost all contain alcohol. Alcohol dries out mucous membranes, disrupts the moist environment that supports tissue healing, and burns enough that patients sometimes rinse briefly and quit, which means they do not even get the antimicrobial benefit they were seeking. If you want something beyond saltwater, ask me for a non-alcoholic option appropriate to your healing stage.
Mistake 4: Scrubbing the temporary bridge to remove staining. The temporary bridge can get a bit stained from coffee or tea, and patients want to clean it. Completely understandable! But scrubbing with force transfers pressure to the tissue underneath, and that pressure travels right to the implant sites. Gentle is the word. Think of it as polishing a piece of fine crystal, not scrubbing a dinner pan.
Mistake 5: Not rinsing after every meal. Bacteria do not take breaks, and food debris sitting against healing tissue for several hours is genuinely problematic during the first weeks. Every meal should be followed by a gentle saltwater rinse. It takes about 30 seconds and makes a meaningful difference in the bacterial environment around your healing tissue.
How Will You Know When You Are Ready for the Full Cleaning Routine?
This is the question every patient is most eager to ask, and I genuinely love giving the answer because it means we are talking about progress! The full All-on-4 cleaning routine: complete with a water flosser, interdental brushes, and a thorough daily regimen, is genuinely effective and worth looking forward to. But getting there takes time, and the timeline is somewhat individual to each patient.
Here is what I look for at follow-up appointments before clearing someone for the full routine:
- Tissue color and texture: Healthy healed tissue should be a consistent pink tone, firm and smooth rather than puffy or red. Any lingering inflammation tells me healing is still in progress.
- No bleeding on gentle contact: Once the gum tissue has matured, a soft brush touching it should not cause bleeding. Persistent bleeding is a sign that healing is ongoing.
- Comfort at the implant sites: The area around each implant post should not feel particularly tender to gentle touch. Some sensitivity is normal early on, but it should diminish steadily over weeks.
- X-ray evidence of early bone integration: Around the three-month mark, I typically take imaging to assess how the bone is integrating with the implant posts. This is the most definitive sign that osseointegration is progressing on schedule, and it is the clearest indicator that advanced cleaning tools can be safely introduced.
For most of my patients, the conversation about transitioning to the full routine happens somewhere between the three-month and six-month mark. Some patients are ready closer to three months; others genuinely need closer to six. It depends on bone density, overall health, how carefully the healing protocol was followed, and natural individual variation in healing rate. There is no prize for getting there faster. The goal is getting there right.
When you are cleared, that is when our detailed long-term cleaning guides become your go-to resources. We have published two in-depth articles on exactly this topic: How to Clean All-on-4 Dental Implants the Right Way and How Often Should You Clean All-on-4 Dental Implants. Together they cover everything you will want to know about the long-term routine once you reach it.
The healing window is temporary. The results are permanent. Stay patient with the protocol, call us any time you are uncertain, and you will get there!
Your Daily Healing Routine: Week 1 Step by Step
- After every meal, Dissolve 1/4 tsp of plain table salt in 8 oz of warm (not hot) water. Swish gently for 30 seconds. Let it fall from your mouth naturally. Do not spit with force.
- Prescribed rinse (if given), Use your chlorhexidine rinse exactly as directed, typically 30 seconds twice per day. Wait 30 minutes before eating or drinking anything afterward.
- End of day, Rest. No brushing, no commercial rinse, no additional steps this week. Your body is doing the real work from here.
This entire routine takes under five minutes. Simplicity is entirely the point during this first week.
What Happens When You Follow the Protocol, and When You Skip It
Without the Healing Protocol
Patients who introduce water flossers or interdental brushes in the first two weeks often present at follow-up appointments with red, inflamed tissue, persistent soreness around implant sites, and in some cases early signs of peri-implant infection. Aggressive early cleaning can disrupt the forming tissue seal and slow, or in some cases stall, the osseointegration process. Implants can and do fail when this critical healing window is not respected.
With the Healing Protocol
Patients who follow the gentle rinsing and soft-brush approach through the six-week healing window consistently present with calm, pink, well-formed tissue at their follow-up visits. Osseointegration proceeds on schedule, the transition conversation can begin at the three-month mark, and the full cleaning routine, including the water flosser they have been waiting for, becomes available right on time.
What Will Shape All-on-4 Healing Protocols in the Next 12 to 24 Months?
One thing I find genuinely exciting is how fast our understanding of implant healing is developing. The post-surgical protocol I use today is meaningfully different from what was standard practice fifteen years ago, and I expect it to keep evolving in ways that benefit my patients even more.
Here is what I am watching closely in the near term. First, we are getting better at personalizing the healing timeline to the individual patient. Bone density measurements, inflammatory marker profiles, and even oral microbiome testing are beginning to give us a clearer picture of how a specific patient is likely to heal, which means we may soon be able to say with more precision whether someone will be ready for the full cleaning routine at three months or will genuinely need closer to six. That kind of personalization is exciting for both of us.
Second, the antimicrobial rinse landscape is developing quickly. Non-chlorhexidine antimicrobial options are emerging in clinical research as potentially less disruptive to the long-term oral microbiome while still providing excellent bacterial reduction in healing tissue. As these products make their way into broader clinical practice, I expect the standard rinse protocol to evolve. The goal is always the same, reduce harmful bacteria without unnecessarily disrupting the beneficial microbial community that supports long-term oral health.
Third, probiotic applications specifically designed for post-surgical oral health are an active area of research. The idea is that actively seeding the healing oral environment with beneficial bacteria, rather than simply eliminating harmful ones, may accelerate healing and reduce complication risk. The early data is intriguing, and I am watching it closely before incorporating anything into standard post-op guidance.
What will not change is the core principle: the healing window is biologically distinct from the long-term maintenance window, and the cleaning approach must honor that distinction. Whatever new tools or protocols emerge, any recommendation that ignores the fragility of tissue in the first six weeks should be viewed with real skepticism. The biology drives the protocol, and the biology of early osseointegration is not going to change.
Key Takeaways
Key Takeaways
- The first 24 hours after surgery: no rinsing or brushing at all, blood clots must stabilize first.
- Days 4-7: warm saltwater rinse (1/4 tsp salt per 8 oz water), 3-4 times per day, especially after meals.
- Week 2: introduce an extra-soft baby toothbrush on outer bridge surfaces only, feather-light pressure.
- Water flossers and interdental brushes are off-limits until dentist clearance, typically 3 to 6 months post-surgery.
- Never substitute commercial alcohol-based mouthwash for prescribed rinses during the healing window.
- If you are uncertain about any step, call your dentist rather than guessing. The stakes are too high to wing it.
As you can see, the healing-window protocol is really about trusting the process, and trusting your body. It feels strange to pull back on cleaning habits that you have spent a lifetime building, but every week of that gentle protocol is doing something you cannot see from the outside: it is giving osseointegration the calm, undisturbed environment it needs to proceed. We have guided hundreds of patients at Imagine Advanced Dental Arts through this exact period, and the ones who follow the gentle protocol consistently are the ones who tend to present with the cleanest, most beautifully healed tissue at follow-up, and who graduate to the full cleaning routine on the earlier end of the timeline.
If you ever feel uncertain about what you should be doing at any stage, whether it is day four or week five, do not guess. Contact us at Imagine Advanced Dental Arts or call us at 609-896-0589, and we will walk you through exactly where you are and what comes next. That is what we are here for.
References
- Albrektsson T, Wennerberg A. Oral implant surfaces: review focusing on topographic and chemical properties. International Journal of Prosthodontics. 2004.
- Mombelli A, Decaillet F. The characteristics of biofilms in peri-implant disease. Journal of Clinical Periodontology. 2011.
- Renvert S, Polyzois I. Risk indicators for peri-implant mucositis: a systematic literature review. Journal of Clinical Periodontology. 2015.
- Schwarz F, Derks J, Monje A, Wang HL. Peri-implantitis. Journal of Clinical Periodontology. 2018.
- American Academy of Periodontology. Clinical Practice Guideline for the Treatment of Peri-Implant Mucositis and Peri-Implantitis. 2022.
- Salvi GE et al. Reversibility of experimental peri-implant mucositis compared with experimental gingivitis in humans. Clinical Oral Implants Research. 2012.
- Furst MM, Salvi GE, Lang NP, Persson GR. Bacterial colonization immediately after installation on oral titanium implants. Clinical Oral Implants Research. 2007.
- National Institute of Dental and Craniofacial Research (NIDCR). Dental Implants. National Institutes of Health.
Questions about your healing timeline or cleaning routine? Learn more about our All-on-4 dental implant services or call us at 609-896-0589. We are happy to walk you through exactly where you are in the process.
Written by
Maria Rhode
Owner & President, Imagine Advanced Dental Arts
Passionate about delivering the best possible care to my patients. From my days in residency to owning a beautiful hi-tech dental office, I never stop learning and advancing myself and now my practice.
Connect on LinkedInFrequently Asked Questions
Can I use a water flosser on the lowest setting right after All-on-4 surgery?
No. Even on the lowest setting, most water flossers generate pressure levels between 50 and 100 PSI, which is too high for healing tissue in the first six weeks. Save the Waterpik until your dentist explicitly clears you, typically at the three-to-six-month mark after confirming osseointegration is progressing.
Is it okay to use Listerine or regular mouthwash after All-on-4 surgery?
I strongly recommend against it. Most commercial mouthwashes contain alcohol, which irritates healing tissue and disrupts the moist environment that supports recovery. Stick to warm saltwater rinses or a prescribed non-alcoholic antimicrobial rinse. Ask me if you want a specific product recommendation for your healing stage.
When can I start brushing my teeth after All-on-4 surgery?
Wait at least three to five days before introducing any brushing. When you do start, use an extra-soft baby toothbrush with feather-light pressure on the outer surfaces of the temporary bridge only. The gum line and tissue around the implant sites are off-limits for brushing contact in the early weeks.
How often should I rinse with saltwater during healing?
At minimum three to four times per day, and always after eating. Food debris that sits against healing tissue for hours creates an environment where bacteria thrive. The rinse takes 30 seconds and is the most important thing you can do during the first week.
What if my mouth is so sore I want to skip rinsing altogether?
Please do not skip the rinses entirely. Gentle warm saltwater is actually soothing to healing tissue in addition to being antimicrobial. The rinse helps even when it does not feel that way in the moment. If soreness is severe or increasing rather than gradually improving, call us. That is a signal worth checking on.
How will I know when I am ready for the full cleaning routine?
Your dentist will assess tissue appearance, comfort levels, and take imaging at follow-up appointments. For most patients, the conversation about transitioning to the full routine, including water flosser and interdental brushes, happens between three and six months post-surgery.
Can I use regular toothpaste during the healing period?
By week two you can use a small amount of non-abrasive, non-whitening toothpaste on the outer surfaces of the temporary bridge. Avoid any paste marketed as whitening, polishing, or tartar-control. These are too abrasive for healing tissue and can damage the surface of the temporary bridge.
Summarize This Article With AI
Open this article in your preferred AI engine for an instant summary.